My First 3d Printer
Iam I seeing it in 3d?

- Sebastiaan
- 3 min read
After searching the internet for a while and scavering youtube for information, I finally made the decision to do it. YEP, I bought a 3d printer! There are sooooo much 3d printers out there with there own pro’s and con’s. First thing came to mind do I want to self build it or do I want a “Out of the Box” experience? After seeing how to self build it, I came to the conclusion, definitly “Out of the Box” setup. Maybe after getting some knowledge on this topic, I can build it but not for now.
This narrows it down to a smaller list of printers. In the research I have noticed seeing two types of printers resin and spool based printers. Resin printing uses quick curing methode with ultravoilet light in the shape of the layers that it need to cure. Looks really cool, also kinda toxic what I’ve read about it. That leaves it to the last spool based printers, these printers uses a spool with coiled up types of plastic or other materials. But heating up plastic is’nt very healthy aswell? Totaly true, this is a factor where my choice for a printer will thin out the list. Open printers or enclosed printers. This choice was easy, enclosed printers so that if there are any material that is hazardous for health I would be easier to prevent it through a enclosed setup.
After looking up enclosed spool based printers, I’ve chosen for the Creality K1C. A fast and enclosed printer that can print a wide varity of materials.
The setup
Opening the giant box where the printer was in deliverd, the instructions were very clear on what to do. Remove all the packaging materials to keep the printer save (only one piece of packaging material can be removed when starting to calibrate the machine, its the piece under the printbed.), add a soft materials to the top lid ( This is for the chain of the motor which will slap against that side of the top lid every time it moves.). Remove the printbed screws and add a handle to the door. Lets add the backside spoolholder and the spool itself (yes, there was a half a spool added from the Manufacturer).
Take a good look on how to add the spool on the holder, when placing the spool, the material needs to roll from the spool clock wise. Add the screen to the front of the printer and click it inplace.
Now its time to start it up for the first time, we walkthrough the setup and choose to calibrate the machine (when the bed is lifting, now we can open the door and remove the packaging material).
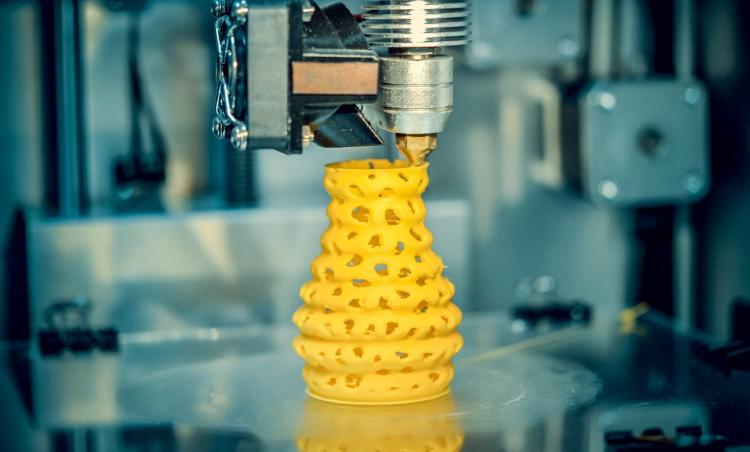
First time printing
When the calibrating is done, we can choose to print some of the default items which are already on the printer. A tugboat, I think its called a Benchy or correct me on that one and some pieces to make the side spoolholder.
Obviously I chose the tugboat, the printer gave an estimate time of 16 minutes to print it. After seeing it starting to creating something from scratch is really cool to see.
Printing troubles?
Yeah after moving the printer arround, I’ve noticed you need to calibrate everytime you place it somewhere else. Came to knowledge after I placed somewhere else and then trying to print something and the printbed was like 3 cm off the printer itself.
Conclusion
Really easy to setup and seeing it creates something from scratch is realy fun. There is so much more the discover on 3d printing and creating your own designs.
Stay tuned for the next part in my 3d printing journey!
- Tags:
- 3d_printing